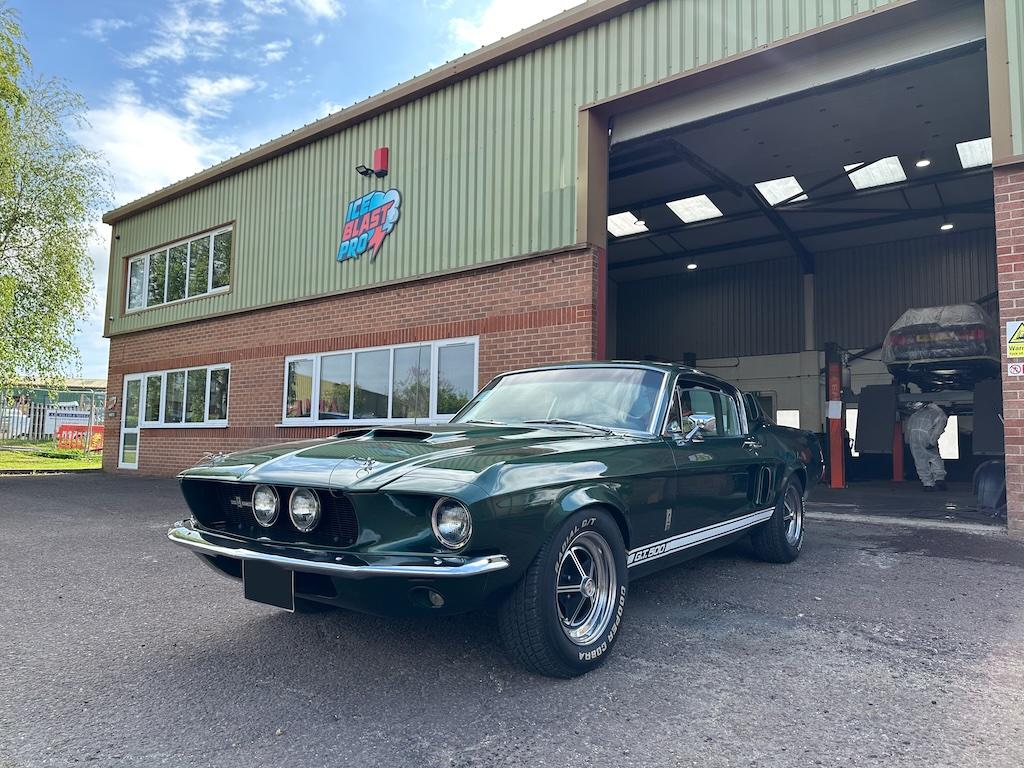
Ford Mustang Shelby GT500
A flagship preservation project: a corroded underbody taken back to bare, treatable metal with dry ice blasting, stabilised with multi-stage rust treatment, then protected area-by-area with the finish each component actually needed – and documented at every step.
Published
In short: what was done to this Shelby GT500
A Ford Mustang Shelby GT500 came in for a full underbody preservation programme covering the underbody, wheel arches and engine bay. The underside was dry ice blasted (no water, no abrasive media, no residue), active corrosion was neutralised and stabilised with multi-stage rust treatment, then each area was protected with the finish that suited it – Dinitrol 4941 black to encapsulate the arches and fuel tank, Bilt Hamber Dynax UB brown on the rear running gear, and the booked Dynax UC clear wax over the body pans so the bare metal stays visible. Every stage was documented with photos and video for the car's history file.
What was booked in
The Shelby arrived for our Premium Underbody Preservation programme – covering the underbody, wheel arches and engine bay. The client pre-agreed on a clear wax protection system, Bilt Hamber Dynax UC, our standard option for owners who want the condition of the metal to remain visible through the protection.
The condition of the underside was unknown, so our consultative, in-depth inspection and treatment programme would let the underside be restored, preserved and documented to an exceptional level that complements the topside of the vehicle.
- Vehicle
- Ford Mustang Shelby GT500
- Service
- Full underbody preservation programme
- Preservation system
- Bilt Hamber Dynax UC (clear)
- Areas
- Underbody · Arches · Engine bay
The preservation programme standard
Every car follows the same six-stage programme, with the work paused for your decision whenever the condition changes the scope.
Plan & Pre-Inspection
- Vehicle received and stored inside with 24hr security
- Vehicle prepped and exterior wrapped
- Full underbody inspection video and photos delivered
Test & Check-In
- Test patches in multiple areas to assess condition and substrate
- Findings shared with you – photos, video or call
- If something significant changes the scope, work pauses for your decision
Dry Ice Blast
- Underbody, arches, suspension, undertrays and engine bay
- No water, no abrasive media, no residue
- Pressure adjusted by area – gentler on sensitive substrates
Multi-Stage Rust Treatment
- Loose corrosion lifted by the ice during blasting
- Active rust chemically neutralised and stabilised
- Clear epoxy foundation laid for proper adhesion of protection
- Welding quoted separately if structural repair is needed
Rust Protection Applied
- Protection system agreed at booking – clear, brown, black, ceramic or a tailored hybrid
- System may be adapted mid-programme if condition warrants it – only with sign-off
- Underbody paint colour-matching and stone chip available
Reassembly & Documentation
- Reassembled with new fixings where required, exterior returned to delivery standard
- Specialist detailing and ceramic coatings available by arrangement
- Full photographic and video record, with a treatment document retained for the vehicle's history file
Pre-inspection: the first conversation
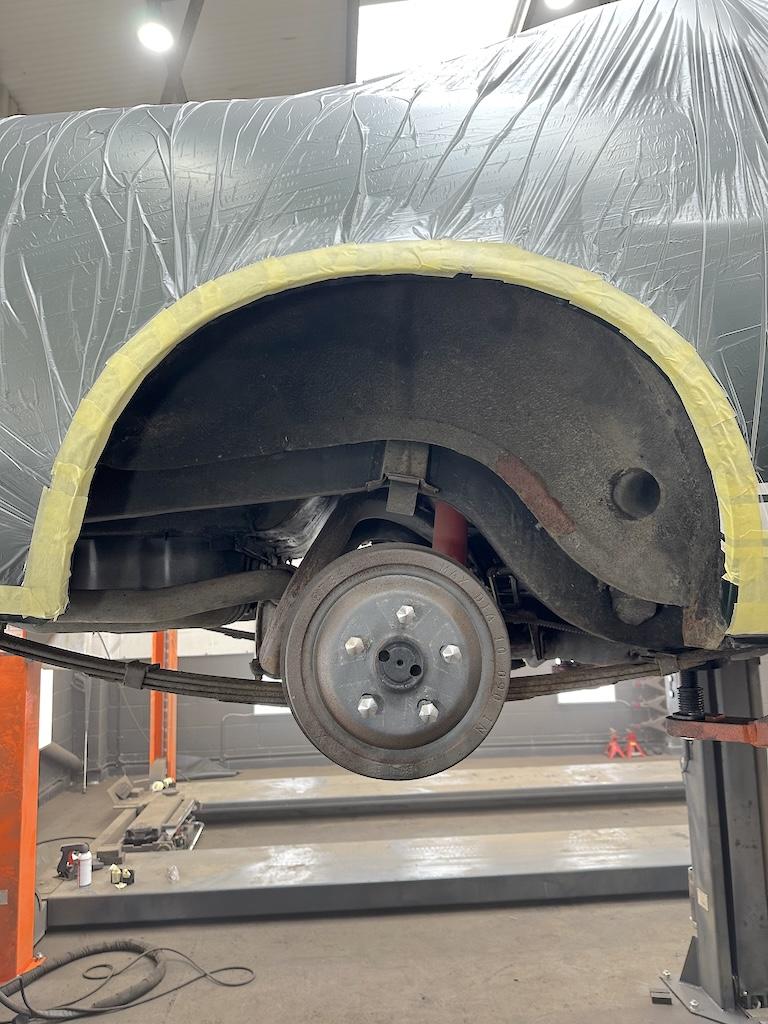
With the vehicle prepped and the body wrapped, the underside is fully inspected and documented. The same photographs and walkaround video we work from are sent across, along with our recommendations – what requires treatment, where and why. No work begins until everything is reviewed and agreed.
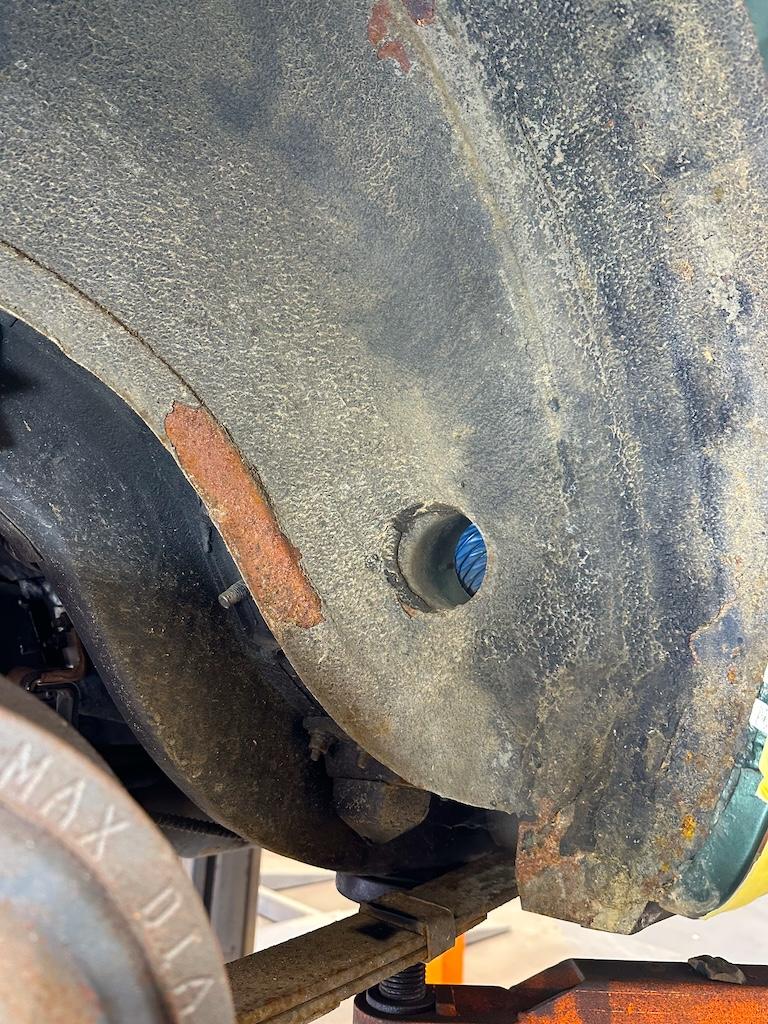
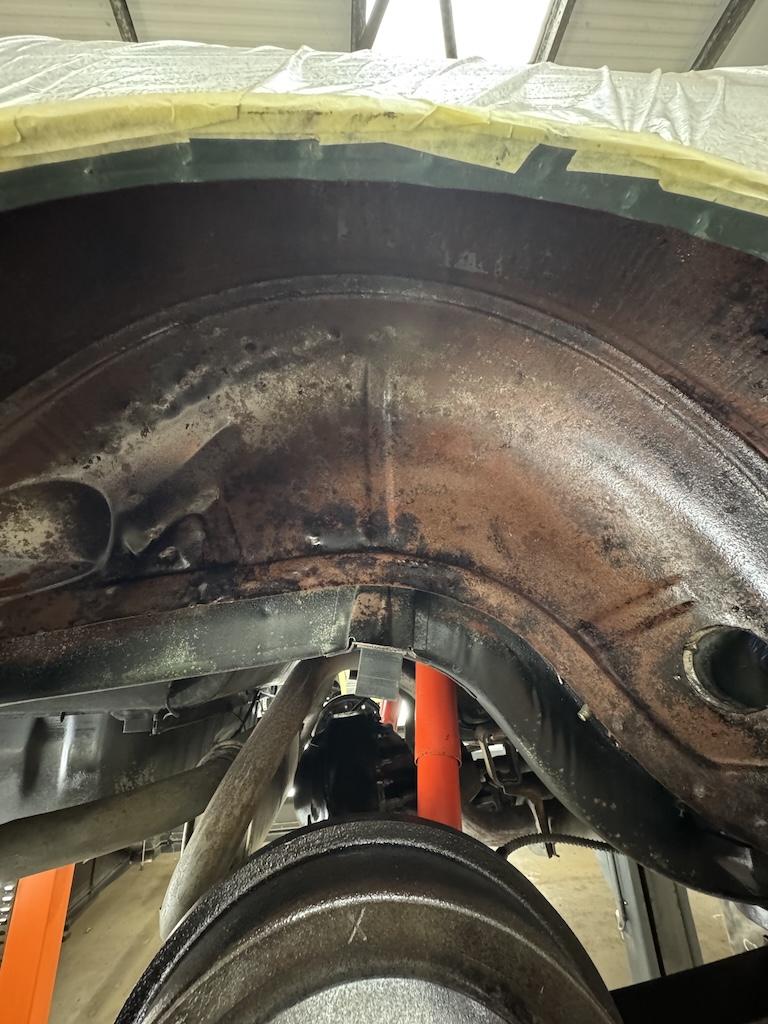
What initial blasting revealed
After initial blasting on key areas, this is what we found. Across the arches, deep-set corrosion sat hidden under failing underseal – the kind that turns from surface and pit corrosion into structural rot if left another year or two. Across the body pans, the original factory black had failed in patches, with red oxide showing where paint had thinned to nothing.
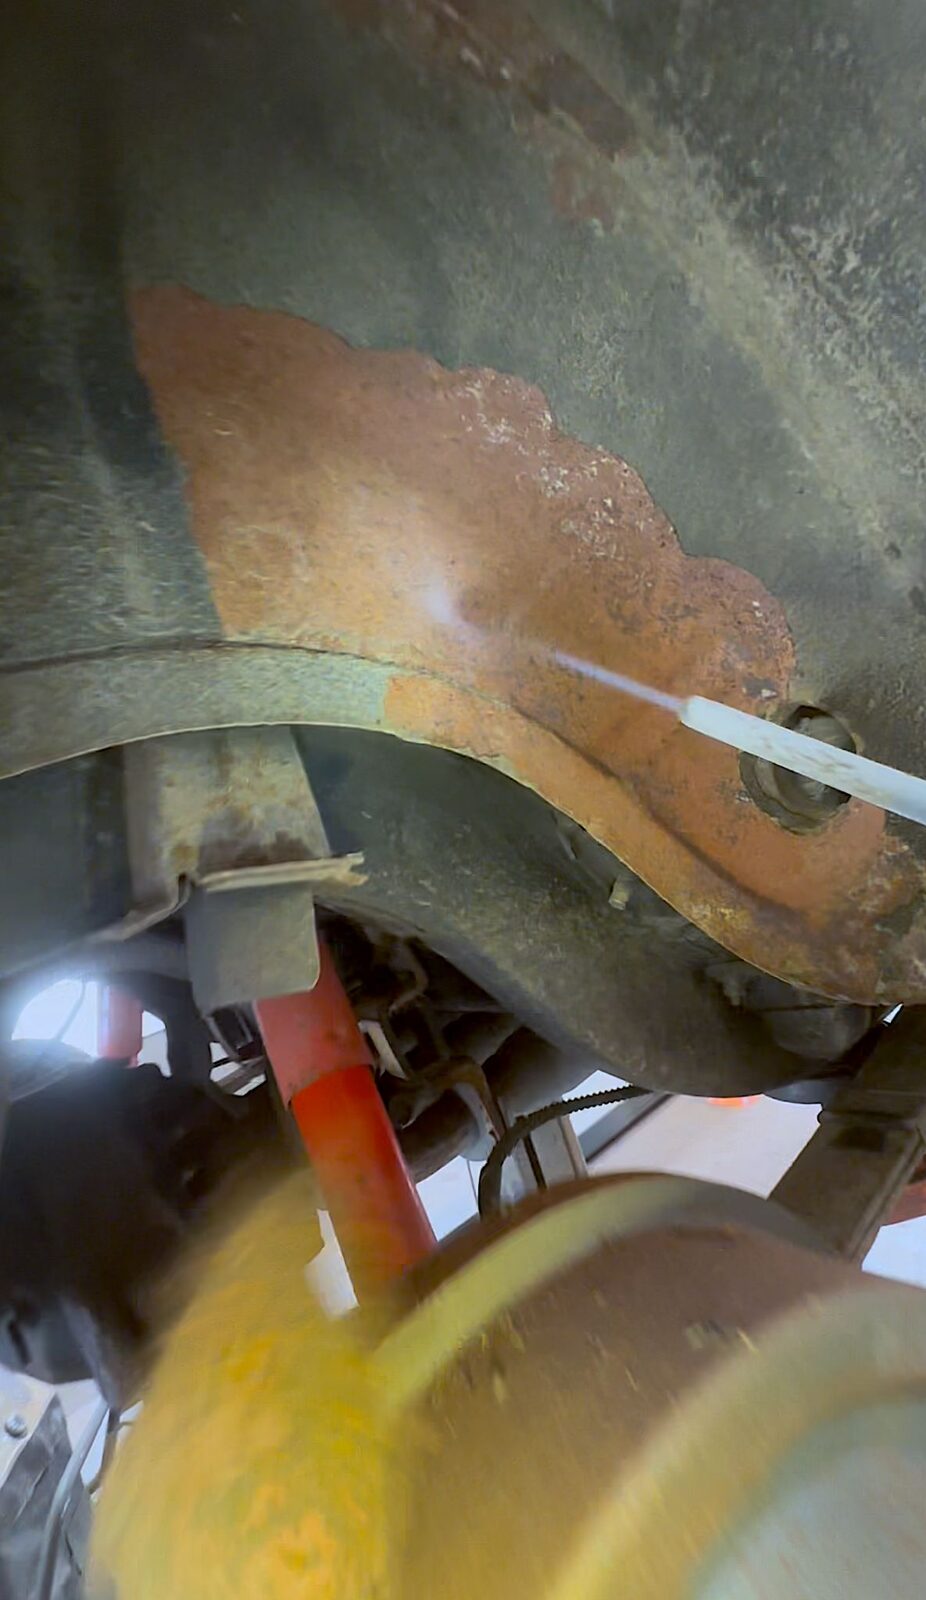
Full multi-stage rust treatment across every affected area, exact-match black touched into the body pans where red oxide had broken through, then the right protection finish over the top. The customer sees this stage too – same photos, same video, same conversation.
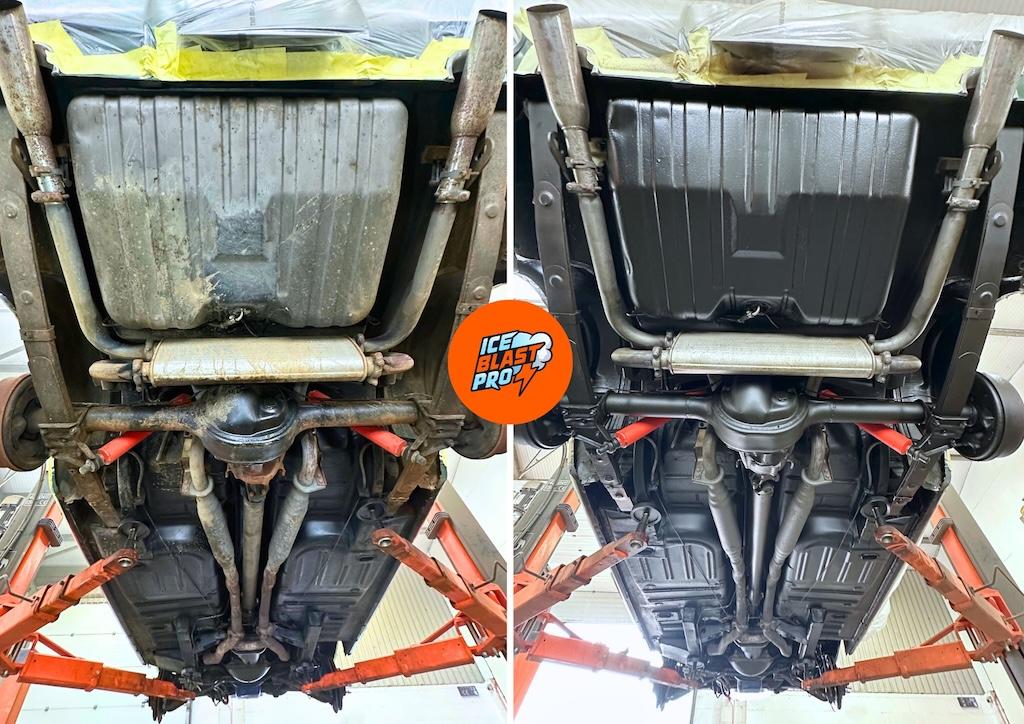
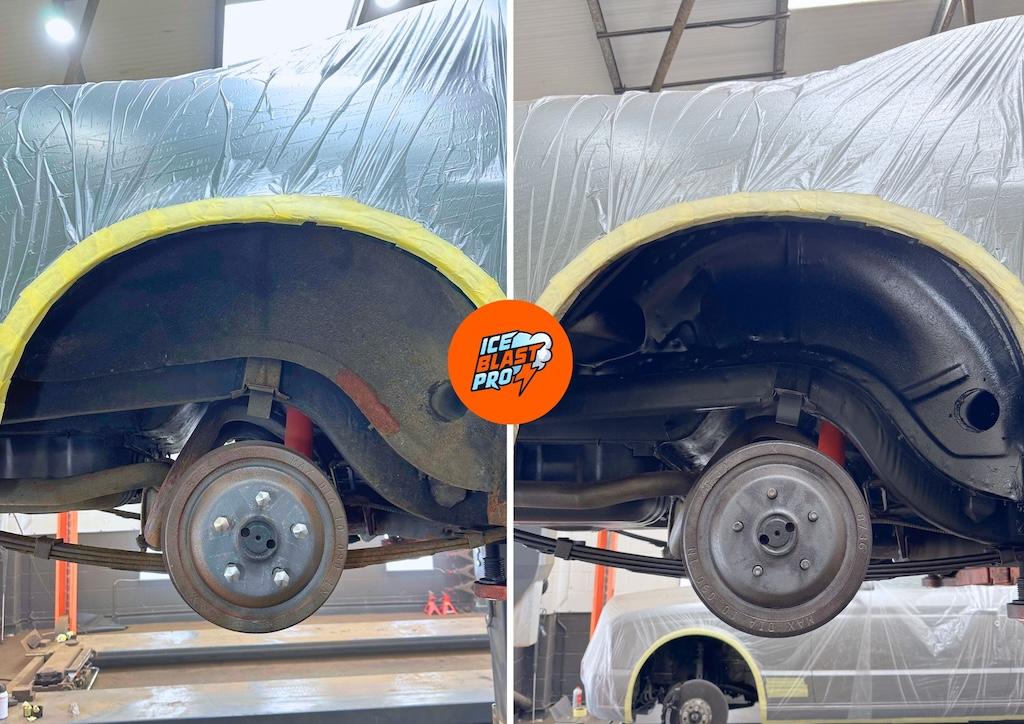
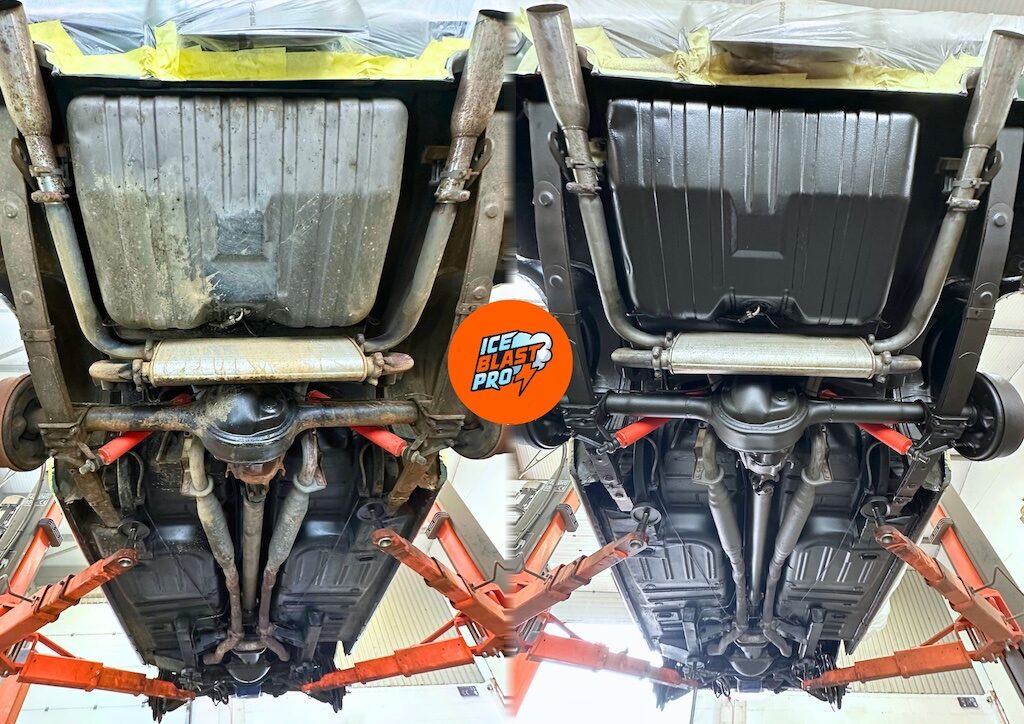
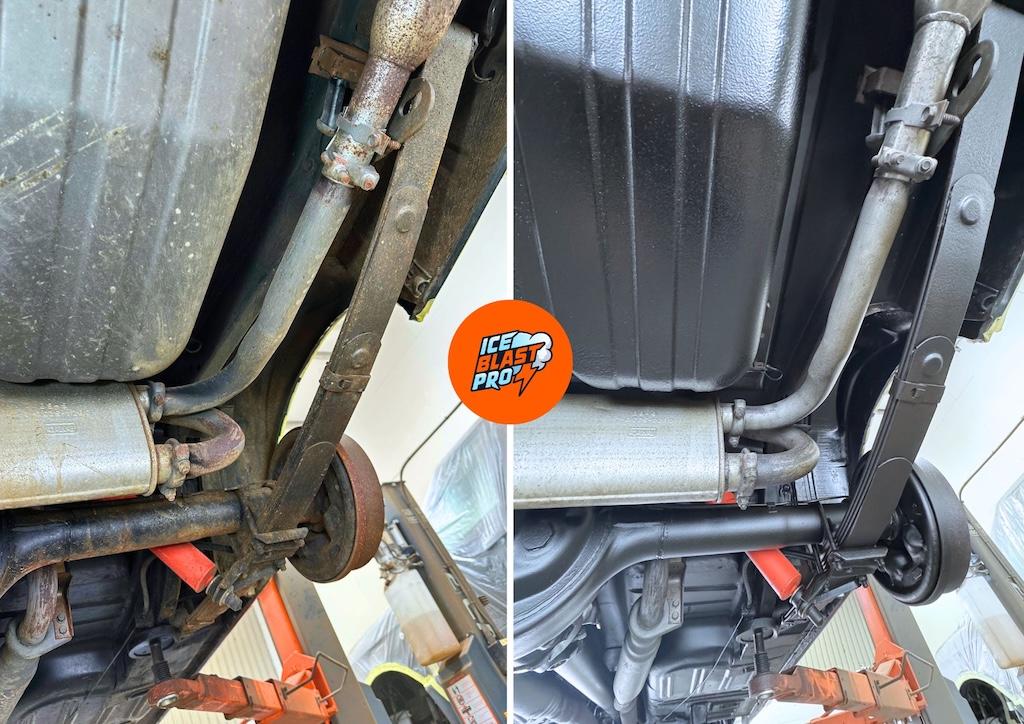
Applying Dinitrol to the arches and tank
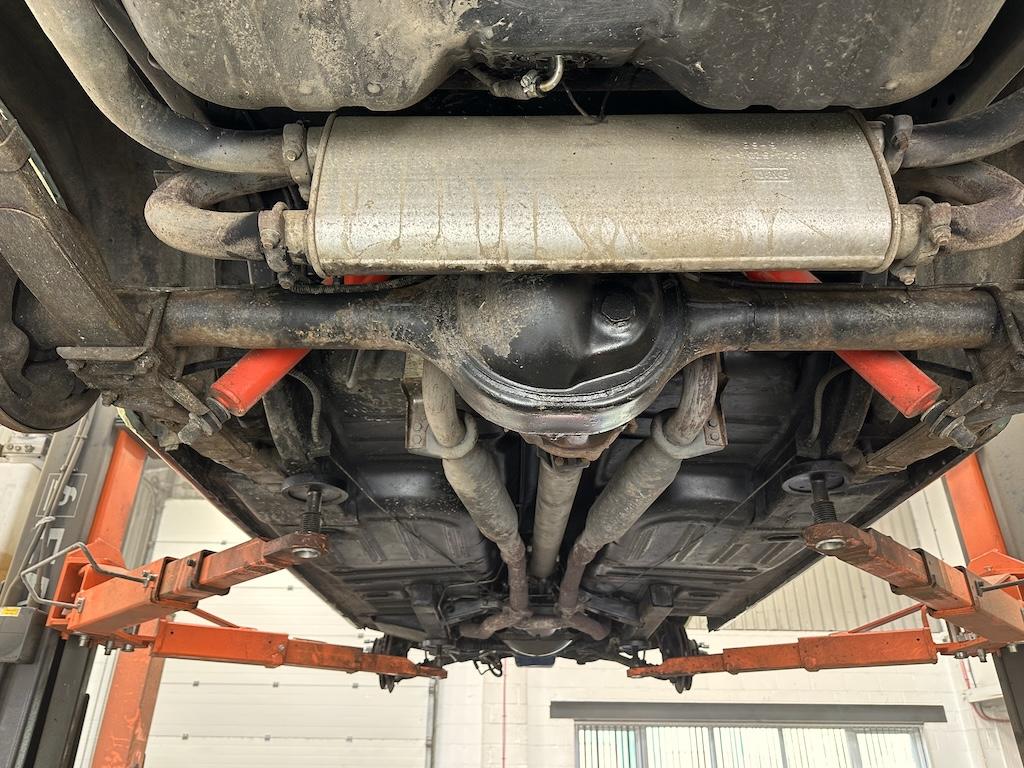
Across the arches and the fuel tank, condition demanded encapsulation rather than visibility through clear protection. The arches' failed aftermarket underseal and the tank's paint failure both called for a finish that locks moisture out completely. After full multi-stage rust treatment to neutralise the active corrosion and an epoxy foundation laid for adhesion, Dinitrol 4941 black went on across both areas – visible in the arch close-up and integrated into the wider underbody finish.
Dinitrol is touch-dry, durable and OEM-style – significantly more durable than wax-based finishes in vulnerable zones like these. In this application it is a 7-year protection system, with bi-annual preservation inspections to confirm condition but no top-up needed in normal use.
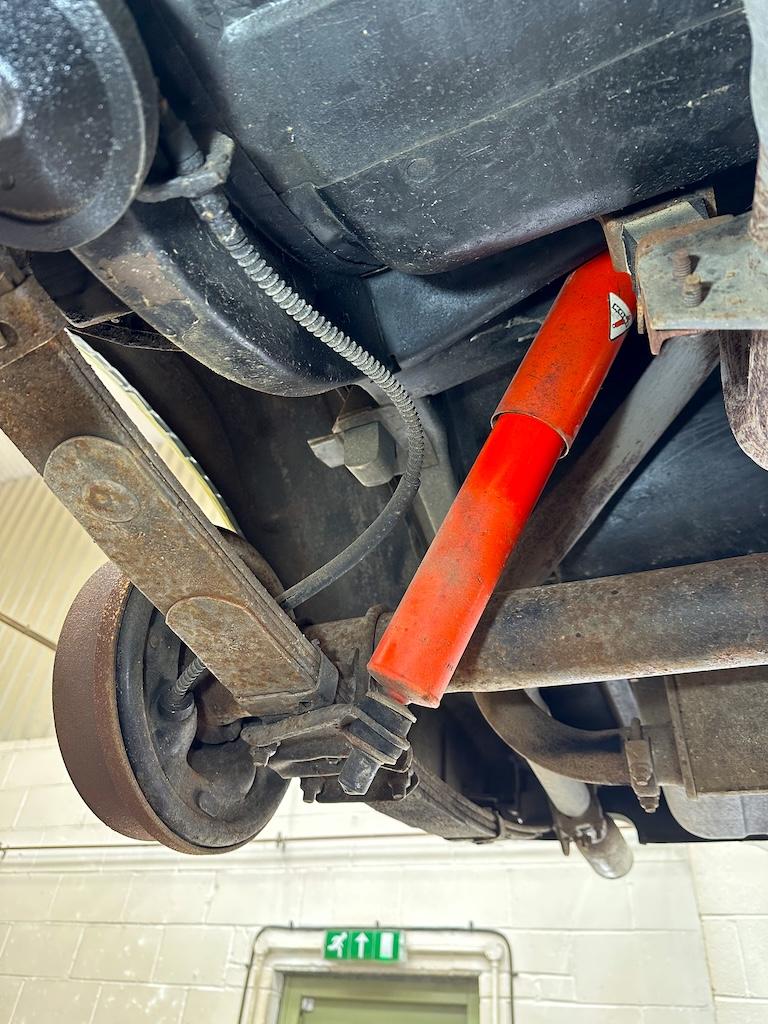
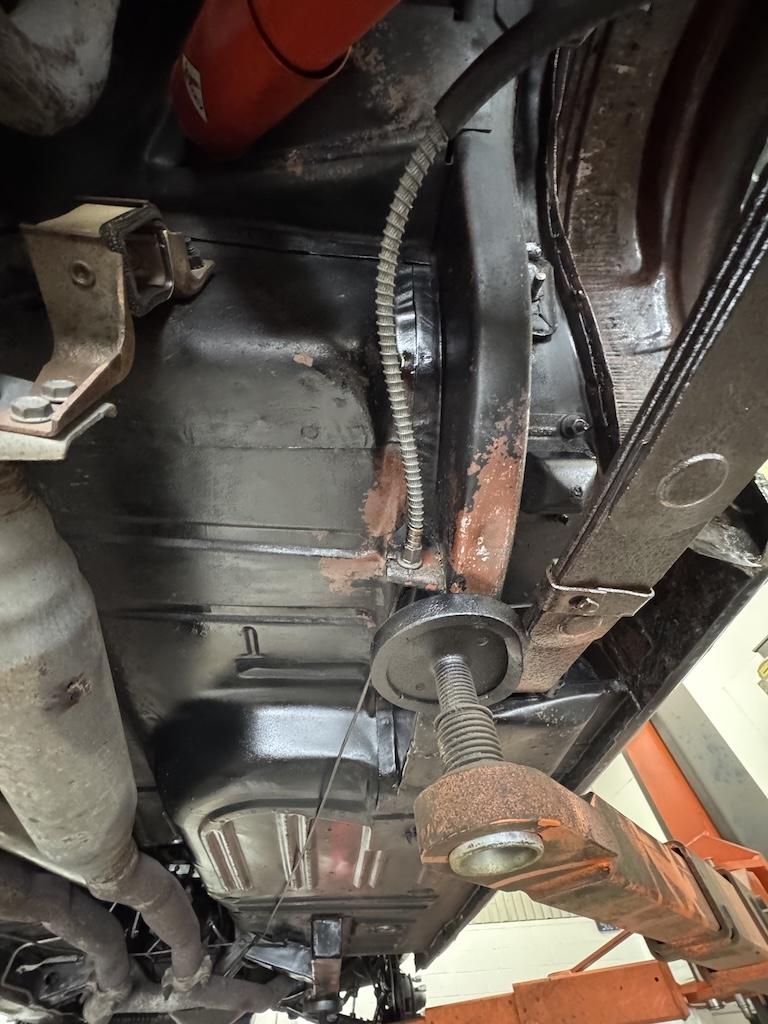
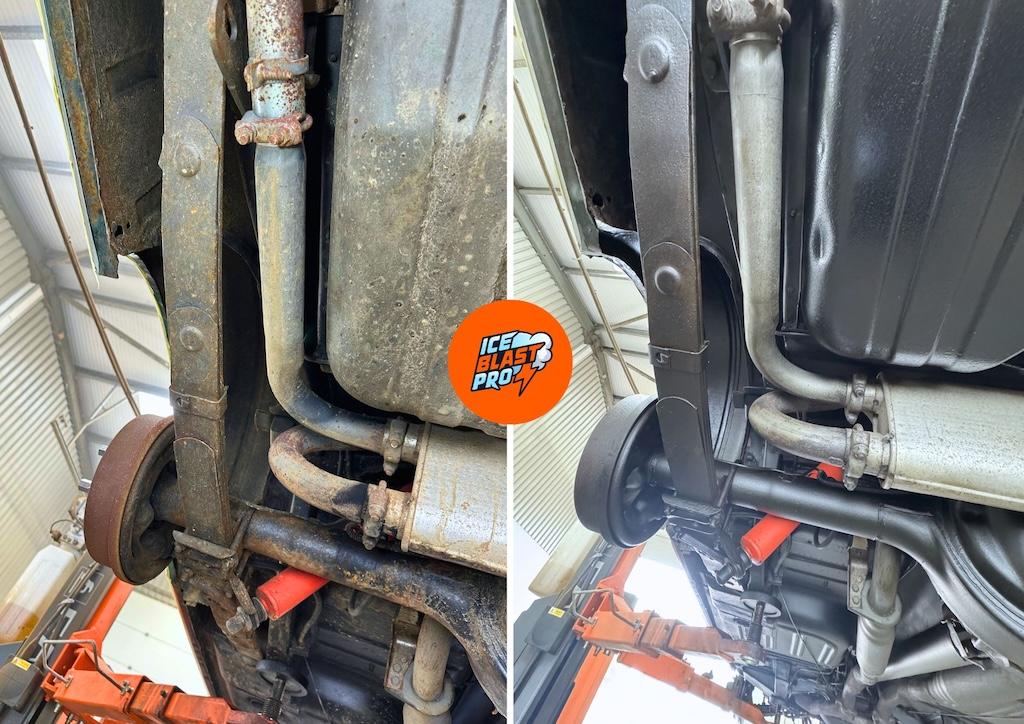
Brown wax applied to the rear running gear
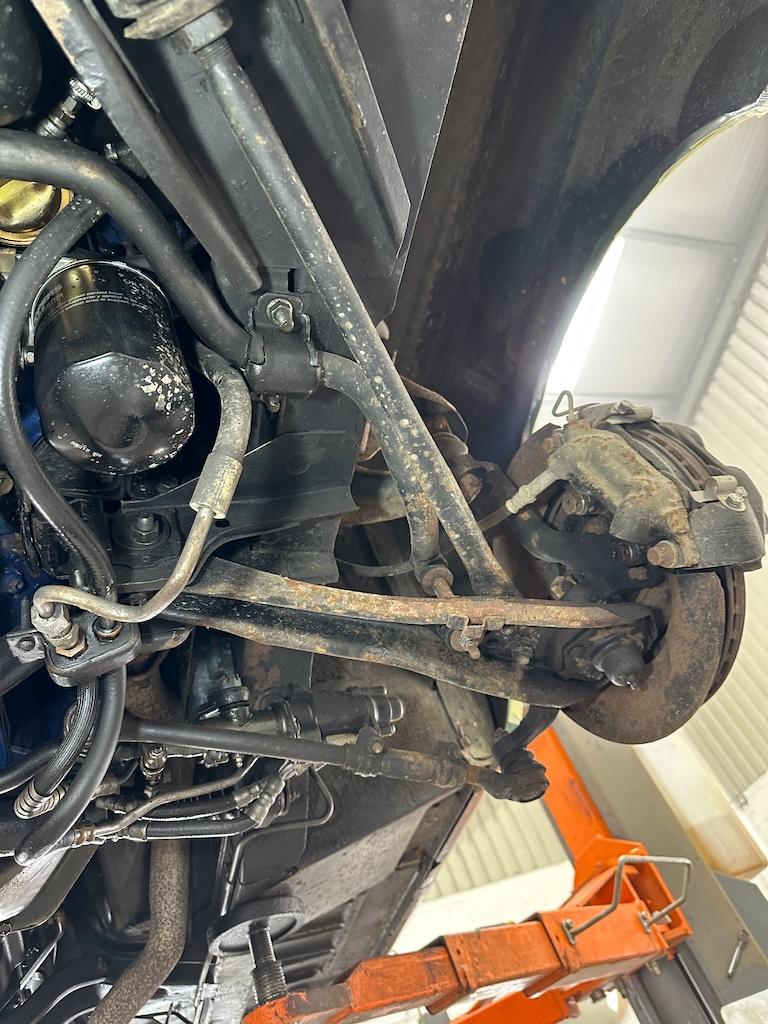
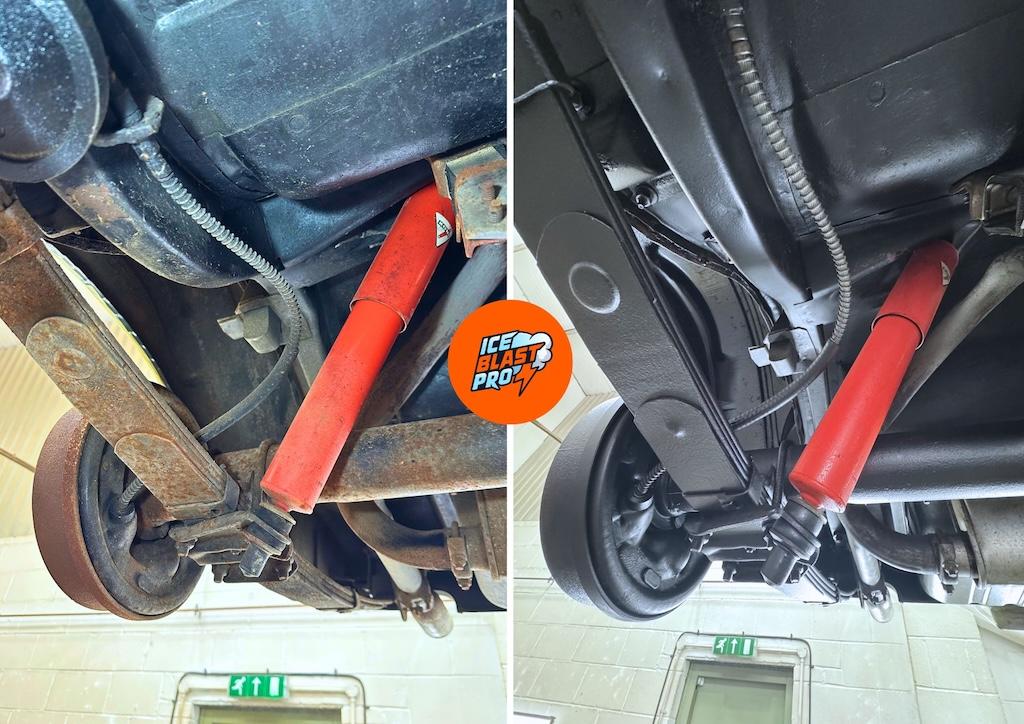
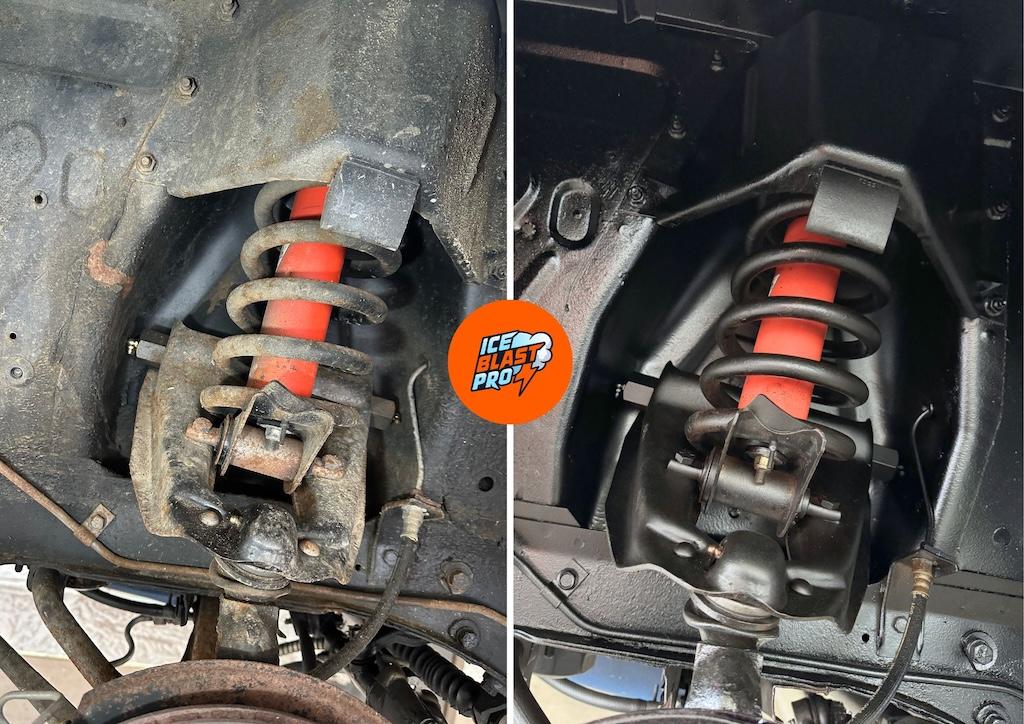
Across the rear axle, differential, rear shock area and surrounding ironwork, the original black had thinned to bare silvery metal in places. Clear wax over this would have done the protective job but kept the bare-metal patchwork visible – making the components look thinned and worn rather than properly preserved. Brown is the better look here: Bilt Hamber Dynax UB adds back the depth and contrast where the original tone had gone, without hiding what is underneath.
The original red shock body was left clean and untouched as a period-correct part to preserve. UB is a wax-based finish: we would recommend a top-up assessment around 18–24 months, with the bi-annual preservation inspection picking up anything that needs attention before then.
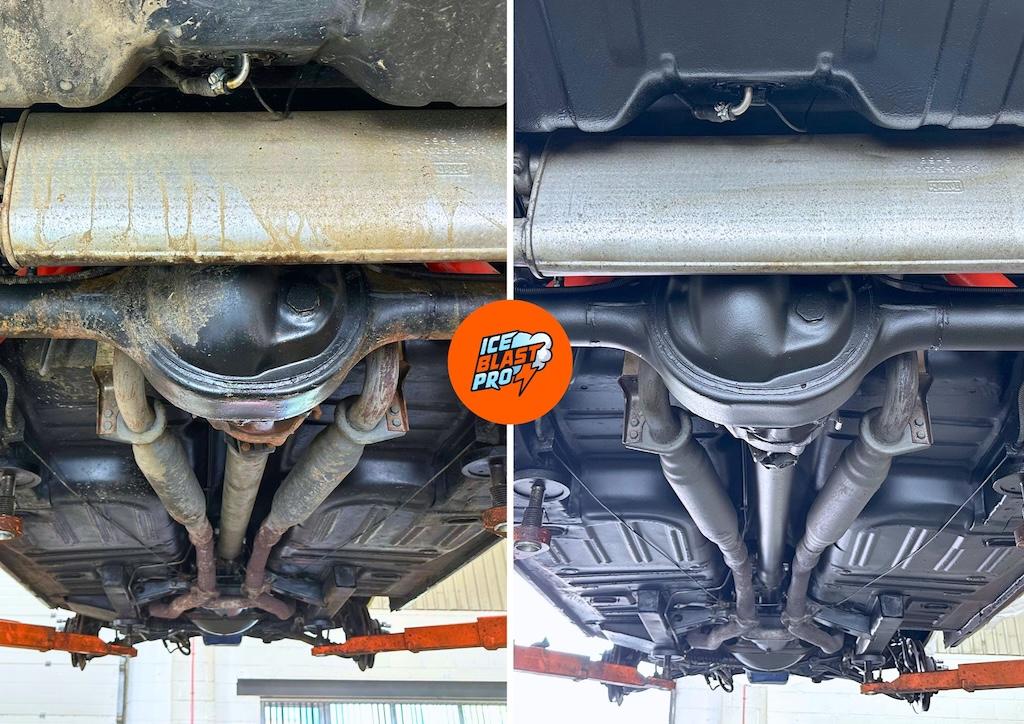
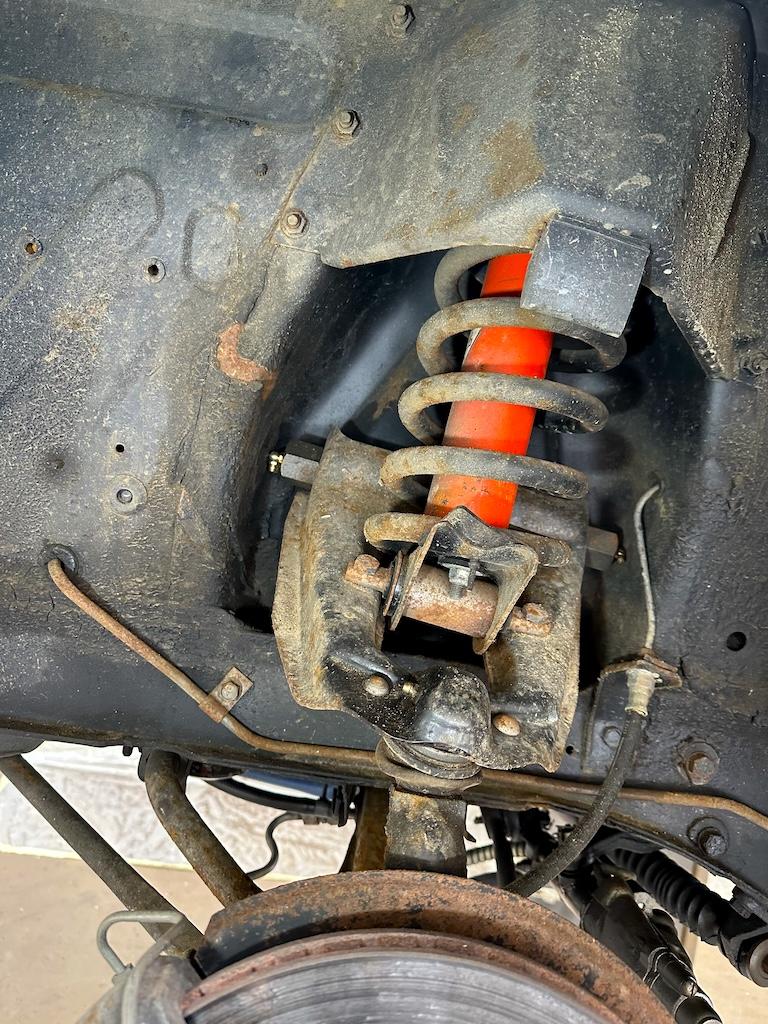
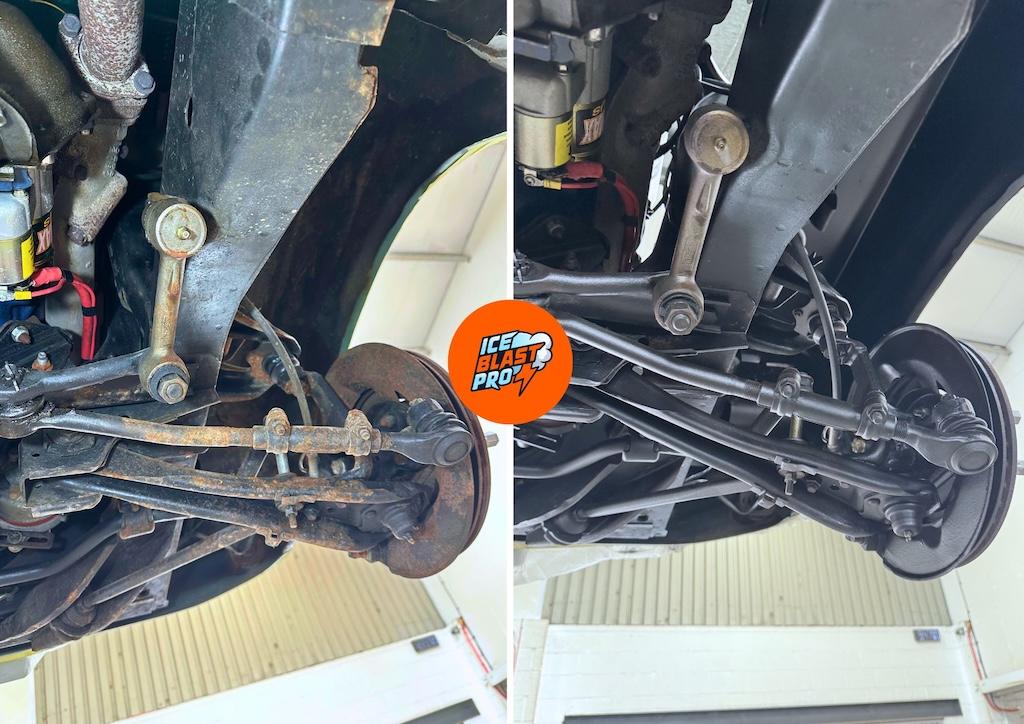
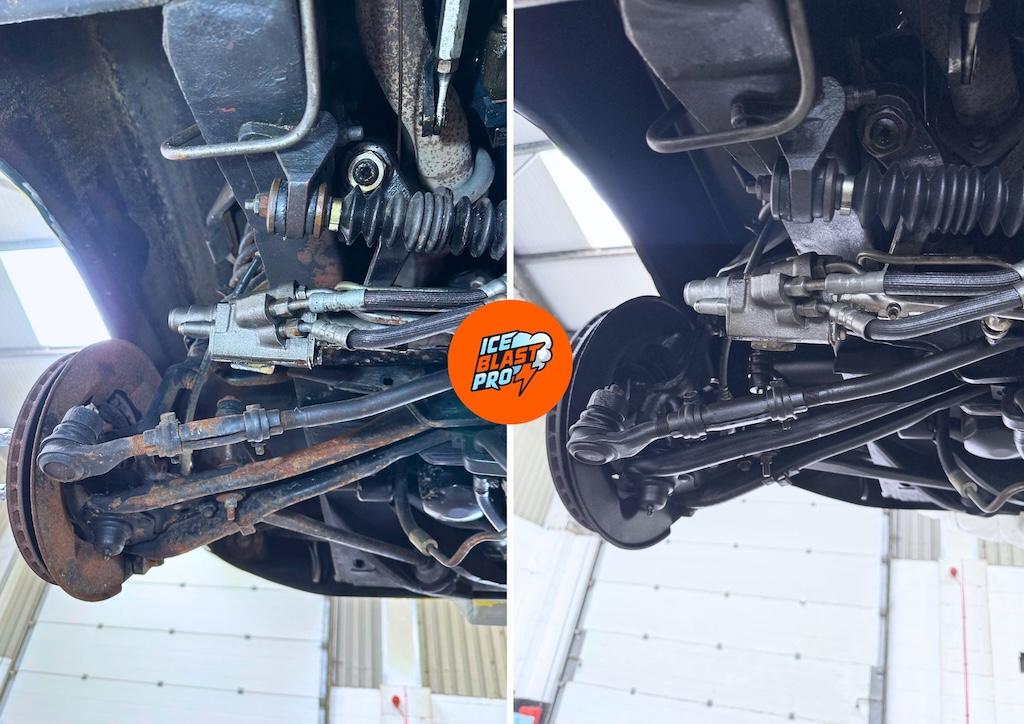
The final outcome
Across every area treated, the result is a vehicle whose underside is now properly preserved – structurally and visually. Front geometry hardware clean, treated and protected. Body pans touched in with exact-match black to retire the failed factory paint, then sealed under Dynax UC clear so the metal stays visible through the finish. Side profile coherent from one end to the other. Tank and rear underbody encapsulated where condition demanded it.
The booked clear wax is now part of a tailored hybrid system that works for the condition we found, supported long-term by the bi-annual preservation inspection – a documented underside, treated to neutralise active corrosion and protected with finishes chosen area-by-area for what each one needed.
Treated. Protected. Documented.
The vehicle arrived needing help. It leaves fully preserved – every corroded area neutralised and sealed with the right protection for that area. The programme is documented and shared with the client throughout, and the plan adapted when the condition required it. Preservation does not end at handover: we remain available long after for advice and annual inspections.
Image areas documented before, during and after
Videos recorded and sent to the client
Specialist team members on this project
Protection products applied area-by-area
Full treatment record delivered to the customer
Preservation inspections available annually
Watch the walkaround
The same kind of walkaround footage the client receives – the underside before, during and after the preservation programme.
Common questions about this project
What work did this Ford Mustang Shelby GT500 have done?
It went through a full underbody preservation programme covering the underbody, wheel arches and engine bay: dry ice blasting, multi-stage rust treatment to neutralise active corrosion, then an area-by-area protection finish – all documented with photos and video.
Is dry ice blasting safe for a classic car underbody?
Yes. Dry ice blasting lifts loose corrosion and failing underseal with no water, no abrasive media and no residue, and the pressure is adjusted area-by-area so it stays gentle on sensitive substrates.
Which protection finishes were used on the underbody?
A tailored hybrid: Dinitrol 4941 black to encapsulate the arches and fuel tank, Bilt Hamber Dynax UB brown on the rear running gear, and Bilt Hamber Dynax UC clear wax over the body pans so the metal stays visible through the finish.
How long does the underbody protection last?
In this application Dinitrol 4941 black is a 7-year protection system with no top-up needed in normal use, while the Dynax UB brown wax is reassessed around 18–24 months. Both are monitored by a bi-annual preservation inspection.
Why was brown wax used instead of clear in some areas?
On the rear axle, differential and shock area the original black had thinned to bare silvery metal. Clear wax would have protected it but left the worn patchwork on show, so Dynax UB brown was used to add back depth and contrast without hiding the metal underneath.
Was the original red shock kept?
Yes. The original red shock body was left clean and untouched as a period-correct part to preserve, with clear wax applied around it, not over it.
Is the work documented for the car's history file?
Yes. Over 20 image areas were documented before, during and after, five videos were recorded and sent to the client, and a full treatment record was delivered and retained for the vehicle's history file.
Explore the process behind this project
Your car could be next
Tell us about your vehicle and what you want to achieve, and we'll recommend the right preservation programme with a quote to match.
Get Instant Quote